Screen Color Test Guide
Not every screen problem shows up on the same background. A white page is useful, but it is only one part of a good display check. This guide explains what each solid screen color is best for and how to combine them into a short, reliable workflow with White Screen.im.
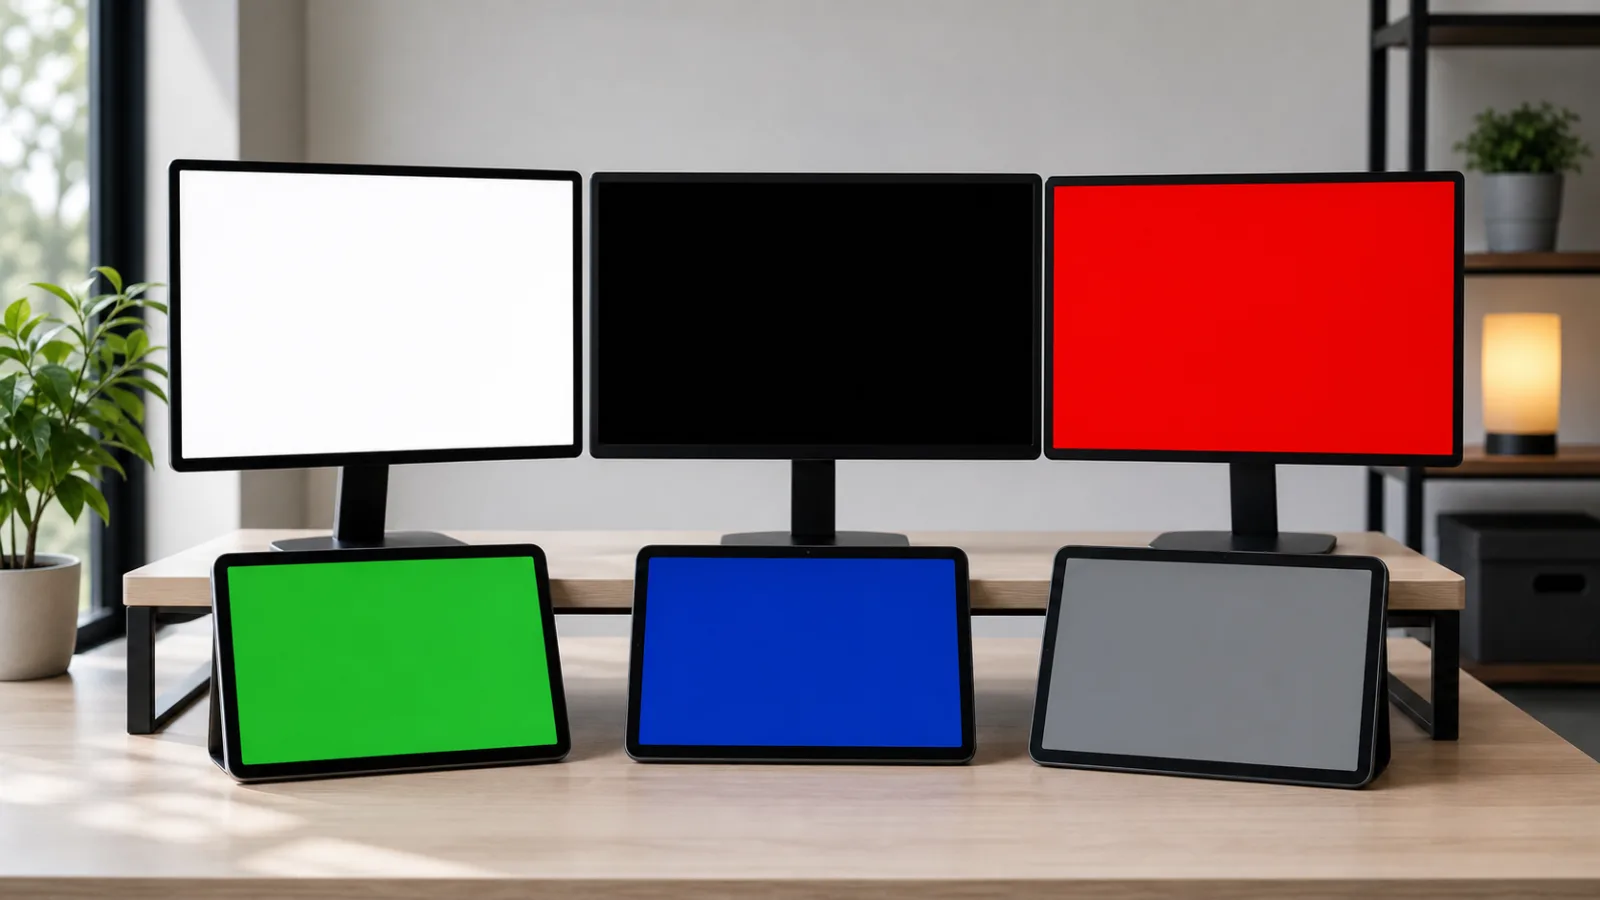
Which Color Finds What?
White
Cleaning, dark pixels, corner dimming, yellow patches.
Black
Bright stuck pixels, edge glow, backlight bleed.
Red
Red-channel or subpixel faults.
Green
Green-channel behavior and small visible defects.
Blue
Blue-channel issues and color-specific subpixel behavior.
Gray
Uniformity, haze, dirty-screen effect, tint shifts.

Quick Answer
If you only want the short version:
- use White Screen for cleaning, dark pixels, and obvious brightness issues
- use Black Screen for bright stuck pixels, glow, and edge bleed
- use Red Screen, Green Screen, and Blue Screen for subpixel diagnosis
- use Gray Screen for dirty-screen effect, tint shifts, and panel uniformity
The best overall workflow is not choosing one page. It is using two to four colors in sequence depending on the problem you are trying to confirm.
What Each Color Is Good At
White
White Screen is the most versatile first step. It is good for:
- dark or dead pixels
- dust and fingerprints
- corner dimming
- yellow or pink patches
- final cleaning inspection
Its main limitation is that some subpixel problems blend into a bright background and may be easier to identify on black or RGB pages.
Black
Black Screen is best for:
- bright stuck pixels
- LCD backlight bleed
- edge glow
- lifted corners
- judging whether a problem is visible in dark scenes
Its limitation is that it exaggerates certain effects when the room is extremely dark or when you view the panel too close.
Red, Green, And Blue
Red Screen, Green Screen, and Blue Screen are used to separate full-pixel faults from subpixel faults. If a suspect point changes behavior across these pages, you are likely seeing one color channel misbehaving rather than a completely dead pixel.
RGB pages are especially useful when:
- one dot looks odd only on some colors
- a panel issue seems tied to one color channel
- you want to confirm whether a “dead pixel” is actually a stuck subpixel
Gray
Gray Screen is the best neutral background for:
- dirty-screen effect
- mild vertical banding
- subtle haze
- uniformity checks
- small tint differences
Gray often reveals problems that hide on white and black because it sits in the middle, where mild unevenness stands out more naturally.
Which Color Should You Use First?
That depends on the task.
| Goal | Best first color | Best follow-up |
|---|---|---|
| Clean the screen | White | Gray, then Black |
| Find dead pixels | White | Black, then RGB |
| Check bright stuck pixels | Black | Red, Green, Blue |
| Test panel uniformity | Gray | White, then Black |
| Check backlight bleed | Black | Gray |
| Inspect OLED wear or retention | Gray | White, then Black |
Starting with the right color saves time and reduces false alarms.
Best Workflow By Use Case
1. Dead Pixel Or Stuck Pixel Check
Use:
Why this works:
- white reveals black dots
- black reveals bright dots
- RGB pages show which channel is affected
If you want the full process, continue with the Dead Pixel Test Guide.
2. Cleaning And Residue Check
Use:
- powered-off dark panel
- White Screen
- Gray Screen
- Black Screen only if something still looks suspicious
Why this works:
- white reveals fingerprints and streaks
- gray reveals haze and subtle wipe marks
- black helps tell dirt from a panel issue
For the full method, see the Monitor Cleaning Guide.
3. Uniformity And Dirty-Screen Effect Check
Use:
Why this works:
- gray exposes mild unevenness
- white shows corner darkening or tinted areas
- black shows dark-scene behavior and edge issues
For a detailed process, use the Screen Uniformity Test Guide.
4. OLED Retention Or Burn-In Check
Use:
Why this works:
- gray often reveals faint retained shapes best
- white shows larger persistent zones
- black helps judge whether it matters in dark real content
If you need prevention advice too, continue to the OLED Burn-In Prevention Guide.
Recommended Color Sequence
Pixel workflow
White -> Black -> Red -> Green -> Blue -> Gray
Cleaning workflow
White -> Gray -> Black
Uniformity and OLED workflow
Gray -> White -> Black

A Few Colors People Overlook
The main testing workflow above is enough for most cases, but other colors can still be useful.
Yellow
Yellow Screen can help some users notice dirt or warm patches differently than on white, especially if the panel tint is subtle.
Cyan, Pink, Orange, And Purple
These pages are less essential for a first-pass hardware check, but they can still help:
- compare how the panel handles certain tints
- inspect creative or lighting use cases
- identify whether a suspect issue is easier to see on a less neutral background
They are secondary tools, not replacements for white, black, RGB, and gray.
Common Mistakes When Using Color Test Pages
People often get less useful results because they:
- test from too close
- forget to clean the screen first
- use only one color and stop
- leave browser bars visible during the test
- judge extreme dark-room glow instead of real viewing conditions
A solid-color test works best when the setup is simple, repeatable, and tied to a real question.
How To Decide Whether A Problem Is Real
Ask these three questions:
- Does the issue appear on more than one relevant test color?
- Does it stay in the same location every time?
- Can you see it during normal use, not only in forced test conditions?
If the answer is yes to all three, the issue is much more likely to be worth documenting.
Recommended Starting Set
If you do not want to use every color page, this is the most efficient starter set:
That set covers the majority of cleaning, pixel, uniformity, and OLED inspection scenarios.
Related Guides
- Dead Pixel Test Guide
- Monitor Cleaning Guide
- Screen Uniformity Test Guide
- OLED Burn-In Prevention Guide
Final Tip
Do not ask one color page to answer every question. Use the right color for the specific problem you are testing, and switch pages methodically. That is what turns a simple fullscreen tool into a reliable screen-check workflow.